
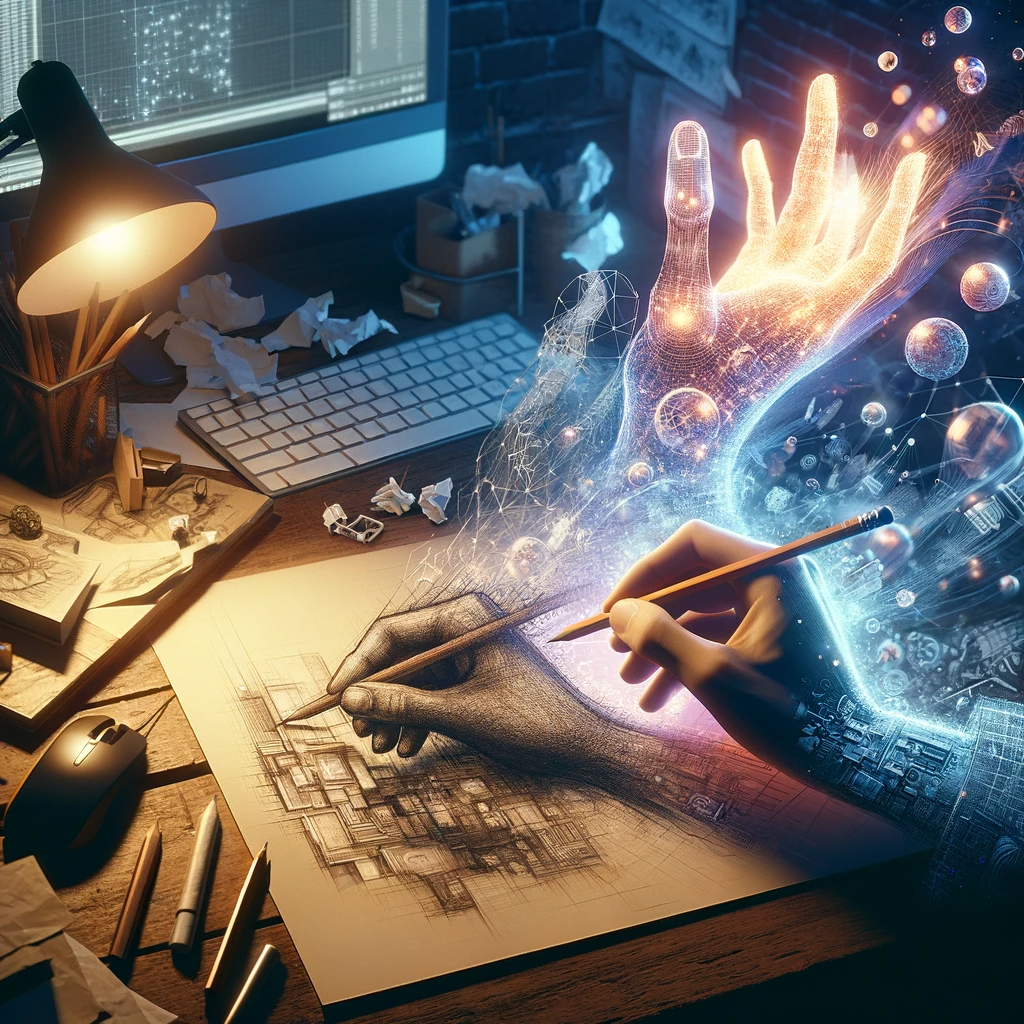
Introduction
Why Create 3D Models?
3D modeling provides a unique opportunity to transform creative ideas into three-dimensional forms. It has become an essential tool across various industries, including graphic design, gaming, architecture, and education. For artists and designers, creating 3D models is a means of self-expression and a gateway to visualizing concepts in a more realistic and comprehensible manner.
Possibilities with 3D Modeling
Visualization of Concepts: 3D models enhance the representation of ideas and concepts, making them visually compelling and accessible, ideal for presentations and educational purposes.
Versatility across Industries: From game development to architectural design, 3D modeling offers diverse applications, presenting new avenues for professional growth.
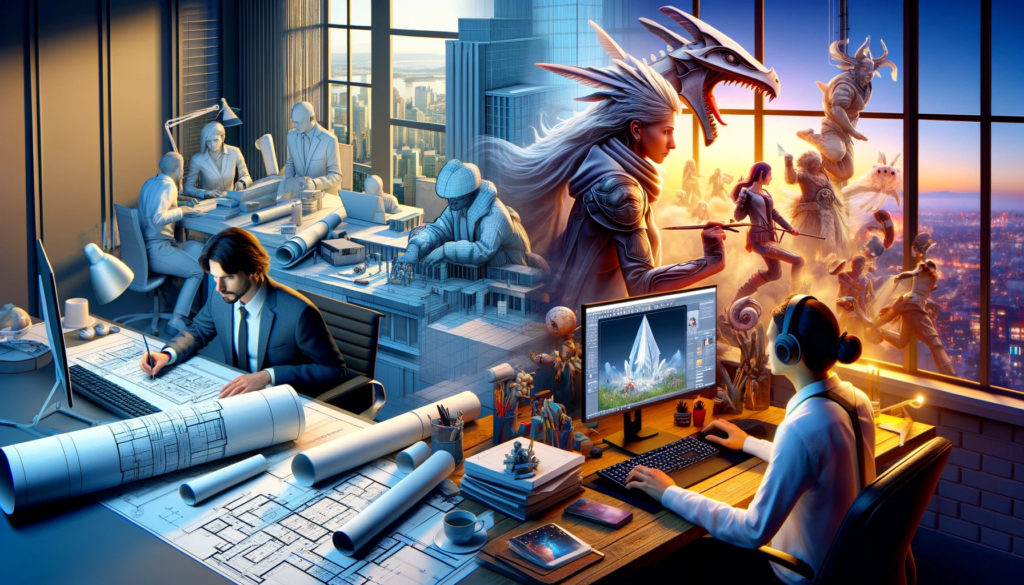
Creative Expression: Crafting 3D models provides a unique outlet for individuality and creativity, allowing the translation of imaginative concepts into visually captivating works.
Technology Interaction: In the era of modern technology, 3D modeling facilitates engagement with digital trends, opening doors to innovative projects. It’s not just about creating visually appealing objects; it’s an opportunity to expand creativity and perspectives.
Preparation Steps
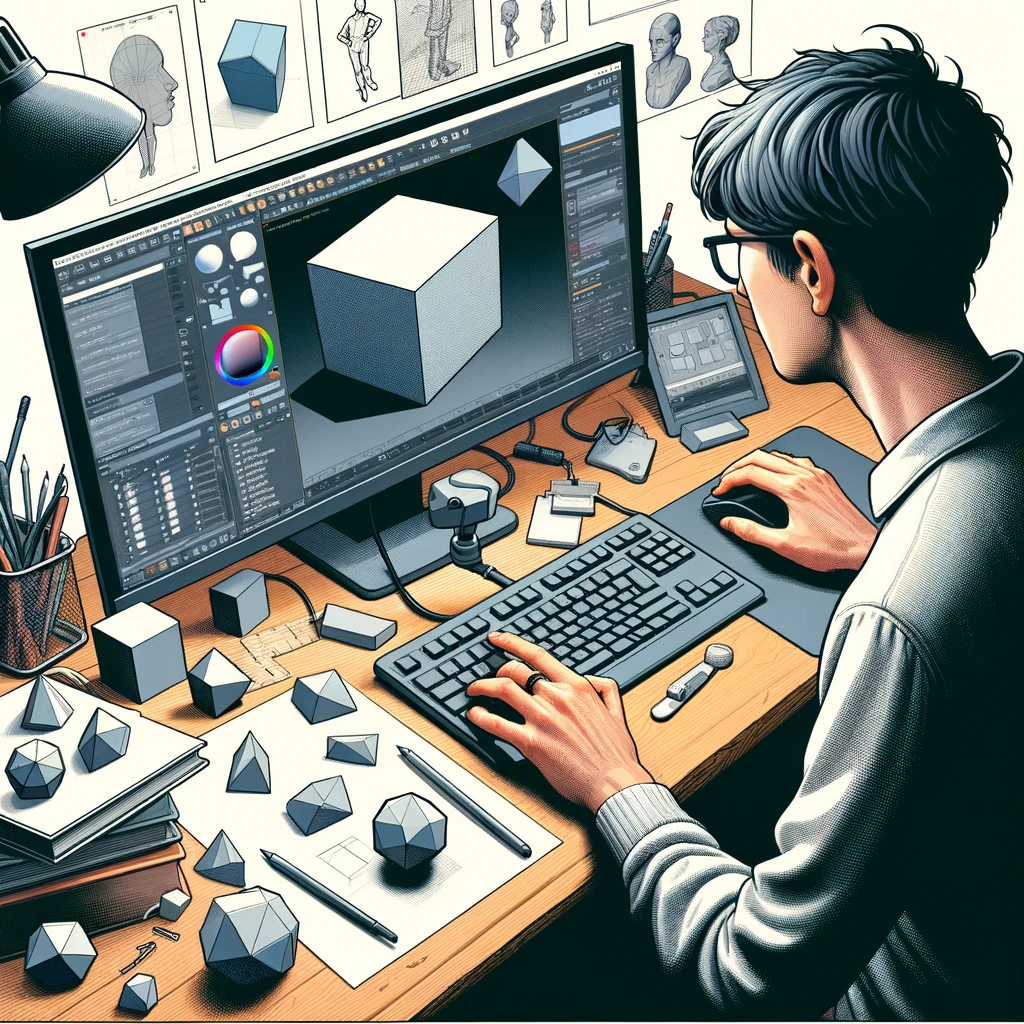
Selecting a 3D Modeling Program
Simple and Affordable Tools
Before diving into 3D modeling, choose the right software. Consider options like Blender (free and open-source), TinkerCAD (web-based for beginners), SketchUp (intuitive for quick models), or Artec Studio for 3D scanning capabilities.
Familiarizing Yourself with the Interface
Coordinate Axes and Basic Elements
Understand the basics of your chosen tool’s interface, with a focus on coordinate axes (X, Y, Z) for accurate object placement.
How to Create and Edit Objects
Learn to create basic shapes and manipulate them using scaling, rotating, and moving tools. Experiment with shape-shifting, extrusion, and smoothing for creative exploration.
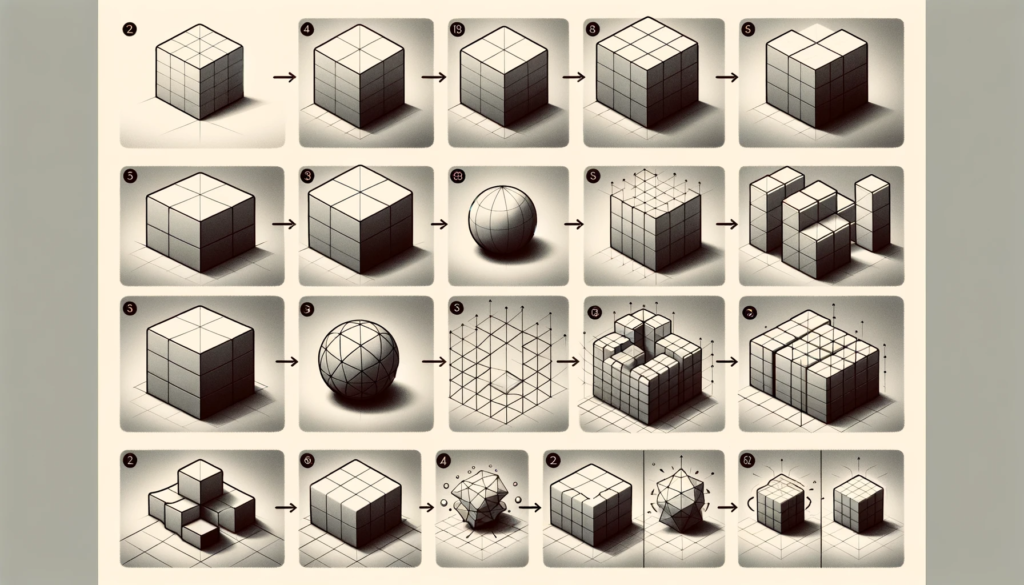
Fundamentals of Modeling
Creating Simple Shapes
Using Basic Primitives
Move on to creating simple 3D shapes using basic primitives like cubes, spheres, and cylinders as a foundation for more complex models.
Resize and Reshape Objects
Experiment with resizing tools to control proportions and master scaling, rotating, and moving techniques.
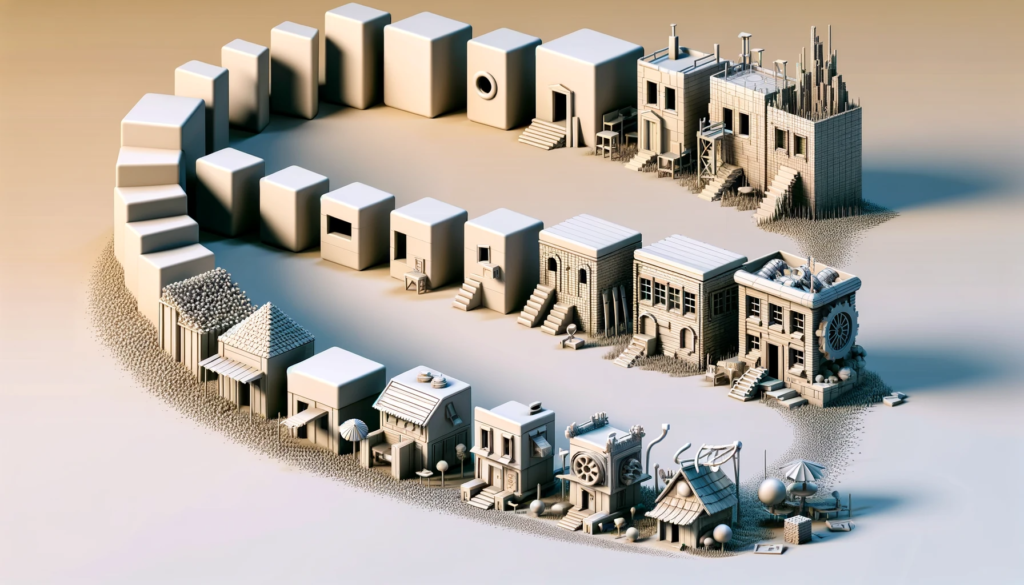
Working with Higher-Level Shapes
How to Create Complex Shapes from Simple Ones
Progress to crafting more intricate shapes by combining and modifying basic primitives. Utilize extrusion and smoothing tools for unique shapes and textures.
Texturing
What are Textures and Why Are They Needed
Understand the role of textures in adding realism and detail to 3D models. Textures include images or patterns applied to object surfaces, enhancing their appearance.
Assigning Colors and Textures to Objects
- Selecting Textures and Images: Choose suitable textures for your model by importing images.
- Assigning Textures to Objects: Learn how to apply textures to objects by selecting the surface and linking an image.

How to Add Realism with Textures
- Adjust the Scale and Repeat: Use program features to fine-tune texture scale and repetition for a natural look.
- Working with UV Unwrapping: Familiarize yourself with UV unwrapping for precise texture placement.
- Creating Normals and Bump Maps: Enhance detail by creating normals or using bump maps to simulate 3D effects without extra geometry.
Practice and Experimentation
Using Modeling Tools
Apply your knowledge by using modeling tools to create simple objects or replicate existing ones, building confidence in program usage.
Experimenting with Colors and Textures
Put texturing and coloring knowledge into practice by experimenting with various textures, color schemes, and lighting to develop a unique style.
Trying Out Creating Your Own Simple Scene
Combine created objects into a scene (room, landscape) to understand composition and spatial relationships between elements.
Useful Tips for Beginners
Saving Your Project and Regular Backups
- Regular Saving: Save your project regularly to avoid losing work due to glitches.
- Creating Backups: Make backups to revert to previous versions, useful for avoiding potential losses from experimentation.
Practice and Patience: The Learning Process
- Regular Practice: Consistent practice with learned tools is crucial for skill improvement.
- Patience: Understand that 3D modeling is a skill developed over time; initial imperfections are part of the learning process.
Utilize Online Resources and Tutorials
- Online Courses: Enroll in online courses to delve deeper into 3D modeling techniques.
- Forums and Communities: Join communities for sharing experiences, asking questions, and receiving feedback.
- Video Tutorials: Visual learning through video tutorials is an effective way to enhance your skills.
Project Finalization and Export
Checking the Model for Errors
- Geometry Check: Ensure correct geometry by checking for redundant or intersecting faces.
- Normals and UV Unwrapping: Verify normals and UV unwrapping for accurate texture and lighting on the model.

Exporting to Popular Formats
- Format Selection: Choose a suitable export format (e.g., FBX, OBJ, STL) based on your project’s intended use.
- Customizing Export Settings: Configure export settings such as units and accuracy before exporting.
Options for Publishing and Showcasing Your Work
- Platforms for Publishing: Explore platforms like artist websites, 3D archives, and specialized community sites for showcasing your projects.
- Portfolios: Create a digital portfolio with high-quality images, process descriptions, and interactive previews for potential employers or clients.
Inspiration for the Next Steps
Developing Skills and Exploring Advanced Topics
- Continuous Learning: Embrace continuous learning by exploring advanced techniques like sculpting, animation, and shader usage.
- Participate in Workshops and Courses: Stay updated with the latest trends and technologies by participating in workshops and courses.
Communicating with the Community and Sharing Experiences
- Forums: Engage with online forums and communities to share experiences, discuss challenges, and seek feedback.
- Collaborations and Projects: Consider collaborative projects to broaden your creative horizons.

Continuing the Creative Process
- Experimentation and New Projects: Keep experimenting and creating new projects to foster creativity.
- Maintaining Passion: Sustain your passion for 3D modeling by finding inspiration from diverse sources.
Creating 3D models is not just a technical process; it’s an art form. Remember the joy of creativity and use it as fuel for your exciting journey in the world of 3D graphics.